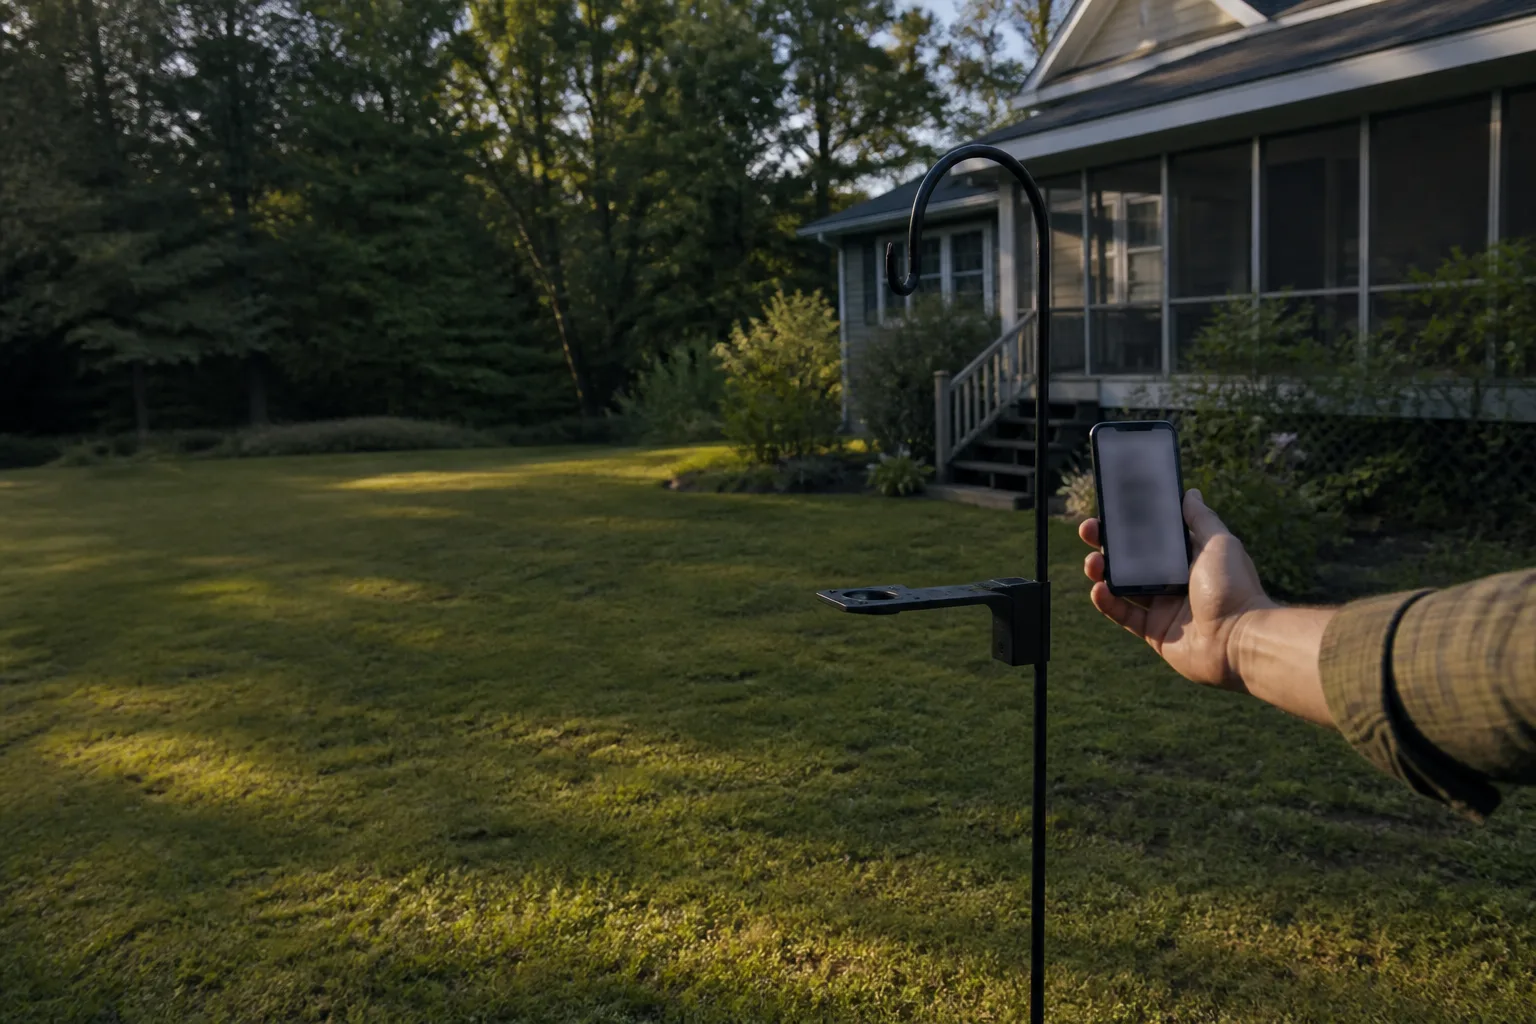
1. The two decisions happen before you open the app
Most “the feeder won't work” complaints I see in setup guides and forum threads trace back to one of two things: the spot the feeder is mounted in, and the Wi-Fi signal at that spot. The brand apps rarely tell you which one is the problem — the camera just times out, drops a clip, or refuses to pair at all. By the time the app fails, the feeder is already screwed to a tree, and the next step is a ladder and a sigh.
The two decisions, named plainly, are:
- Where will the feeder go? The height, the distance from cover, the way it faces. Mounting is partly birding (so birds use it) and partly optics (so the camera sees the birds) and partly squirrels (so the seed is not a buffet for everything that climbs).
- Will your 2.4 GHz Wi-Fi actually reach that spot? Almost every camera bird feeder only joins a 2.4 GHz network, and the router in the next room is not the same thing as the router at the back fence. Mounting is decided by your yard, and Wi-Fi is decided by your house.
The rest of this page is the research-based short list for each. Numbers come from the 2026 roundup consensus, manufacturer pages, and Cornell-style birding guidance, all checked 2026-08-23. Where the evidence is thin or the data is field-only, the page says so. The feeder picks live on the flagship guide and the comparison page; the only affiliate links here are on the mounting hardware named in section 4, marked inline.
2. The Wi-Fi test you can do today with your phone
Run a Wi-Fi test before you unbox the feeder. Many camera feeders use a 2.4 GHz network, but confirm the exact network requirement for your model on its current product page or in the manual. If your router broadcasts both bands, check that the feeder can see the required network from the mounting location.
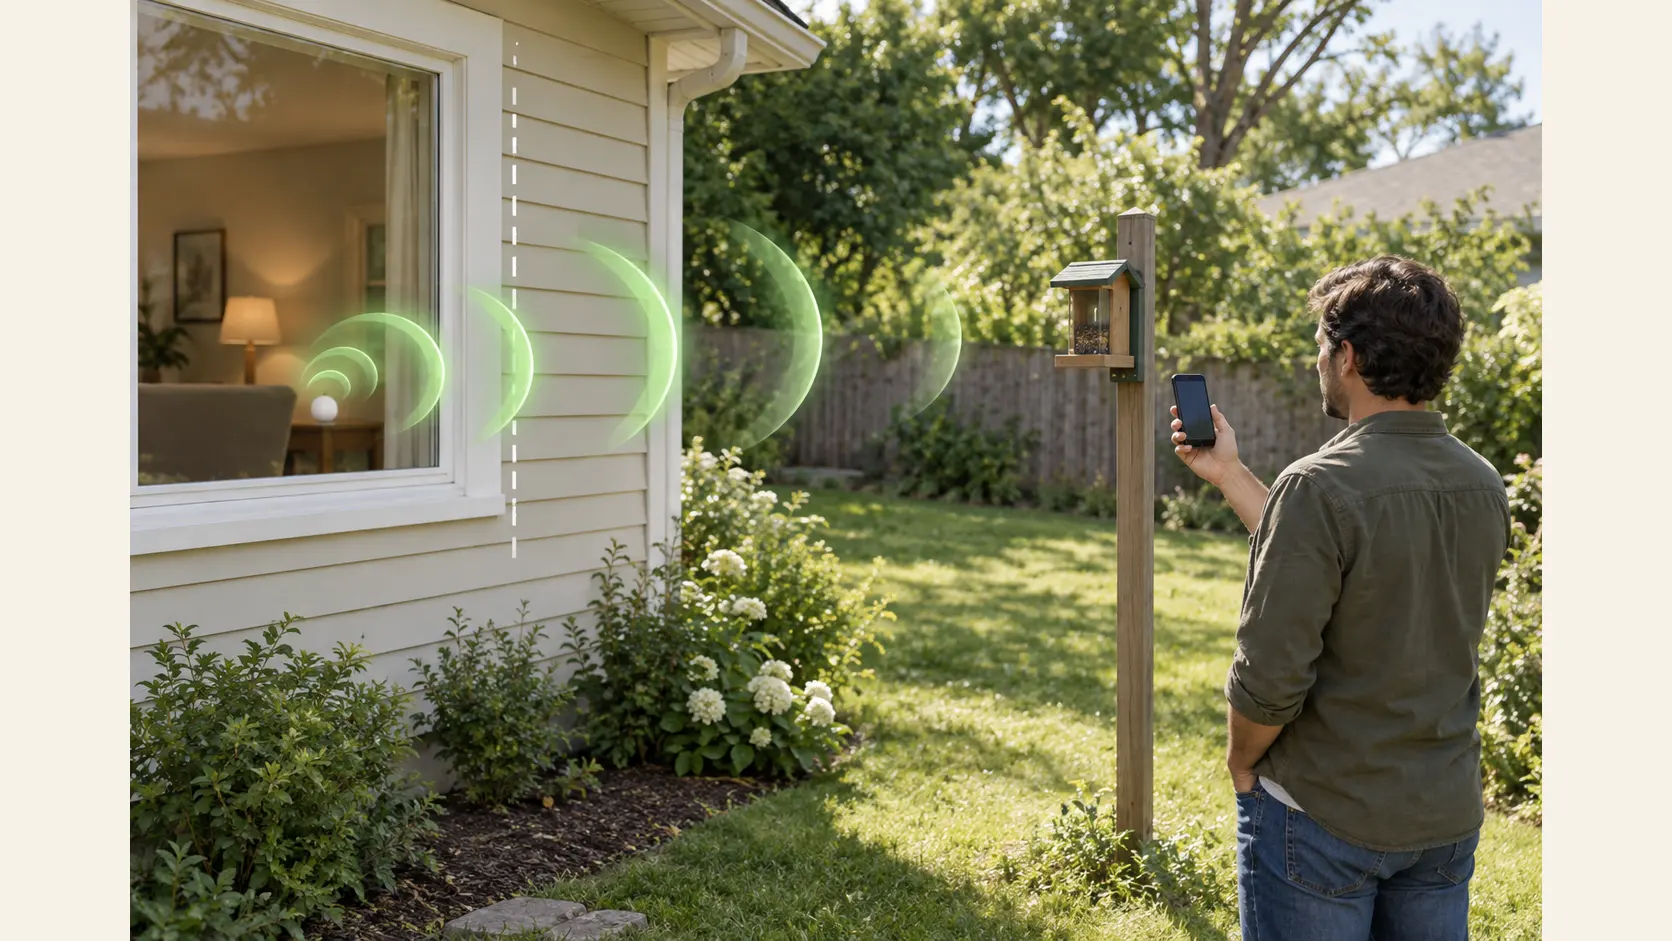
The test is plain:
- Stand at the exact spot you plan to mount the feeder. Do not stand closer to the router and assume the signal carries.
- Connect your phone to the 2.4 GHz network, not the 5 GHz one. If your phone has band steering on, disable it for the test or look in the router app for the 2.4 GHz SSID.
- Run a speed test. The number you care about is not the megabits — it is whether the test connects at all, and how much the speed has dropped compared to a spot near the router.
- Watch for the “connected, no internet” state. That is the state that the camera will report as “offline” or “feeder not responding.”
The pass/fail rule used by the camera-feeder roundup community is short: if your phone shows one bar or “connected, no internet” at the mount spot, the camera will not work there. The 2026 roundup consensus and a number of setup guides state this directly. Hypothesis (checked 2026-08-23): most of the “the app is buggy” complaints in camera-feeder reviews are actually this one problem wearing a different label.
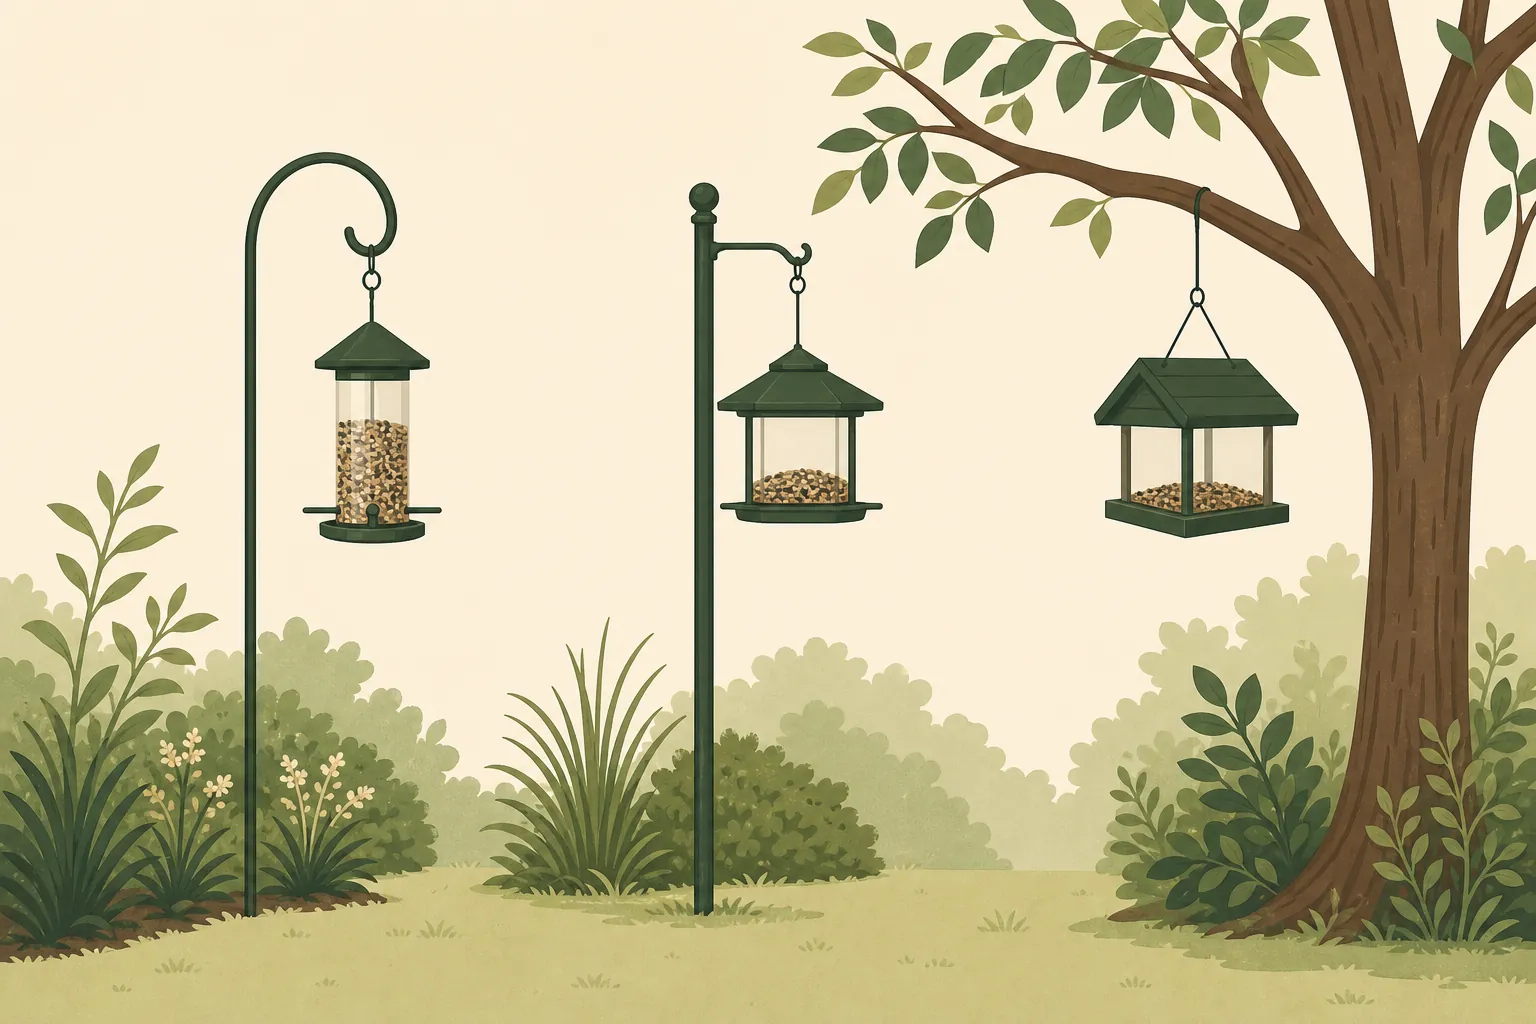
If the test fails, the honest answer is one of three things, in order of cost:
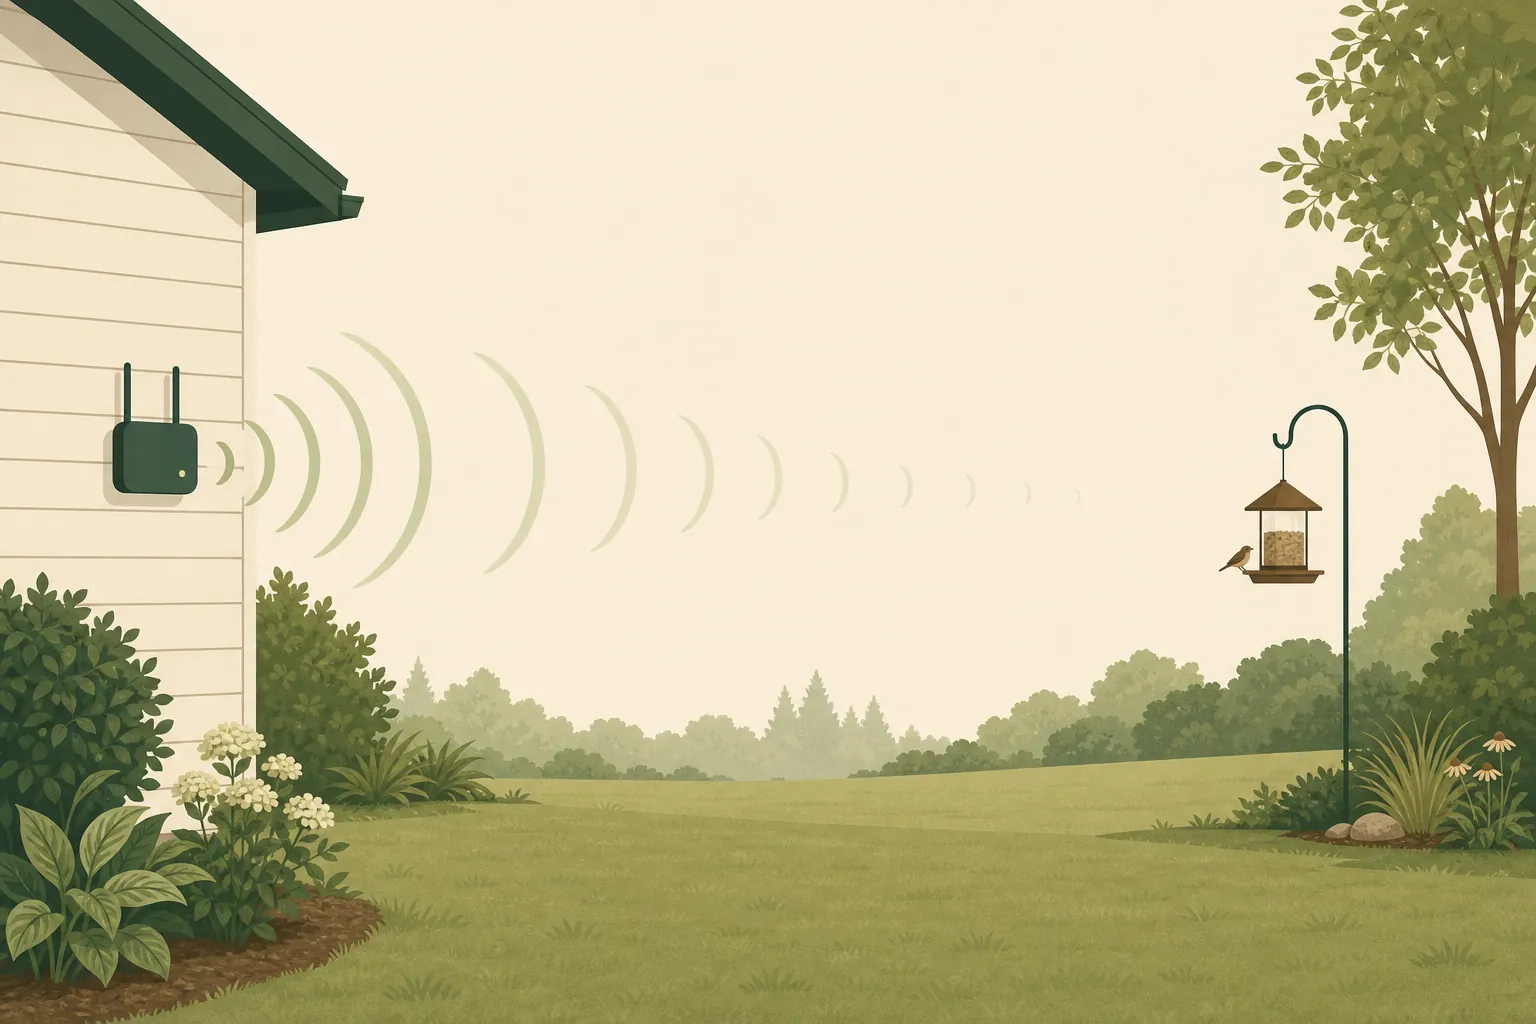
- Move the feeder closer to the router. A simple first troubleshooting step for a small yard.
- Add a mesh node at the back of the house. A single plug-in mesh extender between the router and the mount spot, paired to the same SSID, is the standard fix in the 2026 roundup guidance for backyard dropouts.
- Pick a different mount spot. A shepherd's hook or a pole can move a feeder 10–20 ft without changing the birding plan much, and that is often the difference between one bar and a stable connection.
For the bigger picture on power and the solar/battery side of the Wi-Fi-and-power equation, the power reality page walks through what the marketing says about months of life versus what the first winter actually gives you. For the birding side of placement, the getting-birds page picks up the same distance-from-cover question from the birds' point of view.
3. Mounting: height, distance, and the squirrel rule of thumb
Once the Wi-Fi test passes, the next decision is height and distance. Both have research-based numbers and a small handful of commonly misread rules. The list below uses the same number sources as the rest of the page: 2026 roundup consensus, Cornell All About Birds posture, and the camera-feeder manual fine print, all checked 2026-08-23.
Mounting height — 5 to 6 ft is the standard recommendation. Cornell and the 2026 bird-feeder roundups both put a typical feeder at roughly 5–6 ft off the ground. That height is high enough to keep a feeder out of casual reach from a person walking by, low enough to refill without a ladder, and roughly at the eye level of the camera when you check the app view. Fact (checked 2026-08-23).
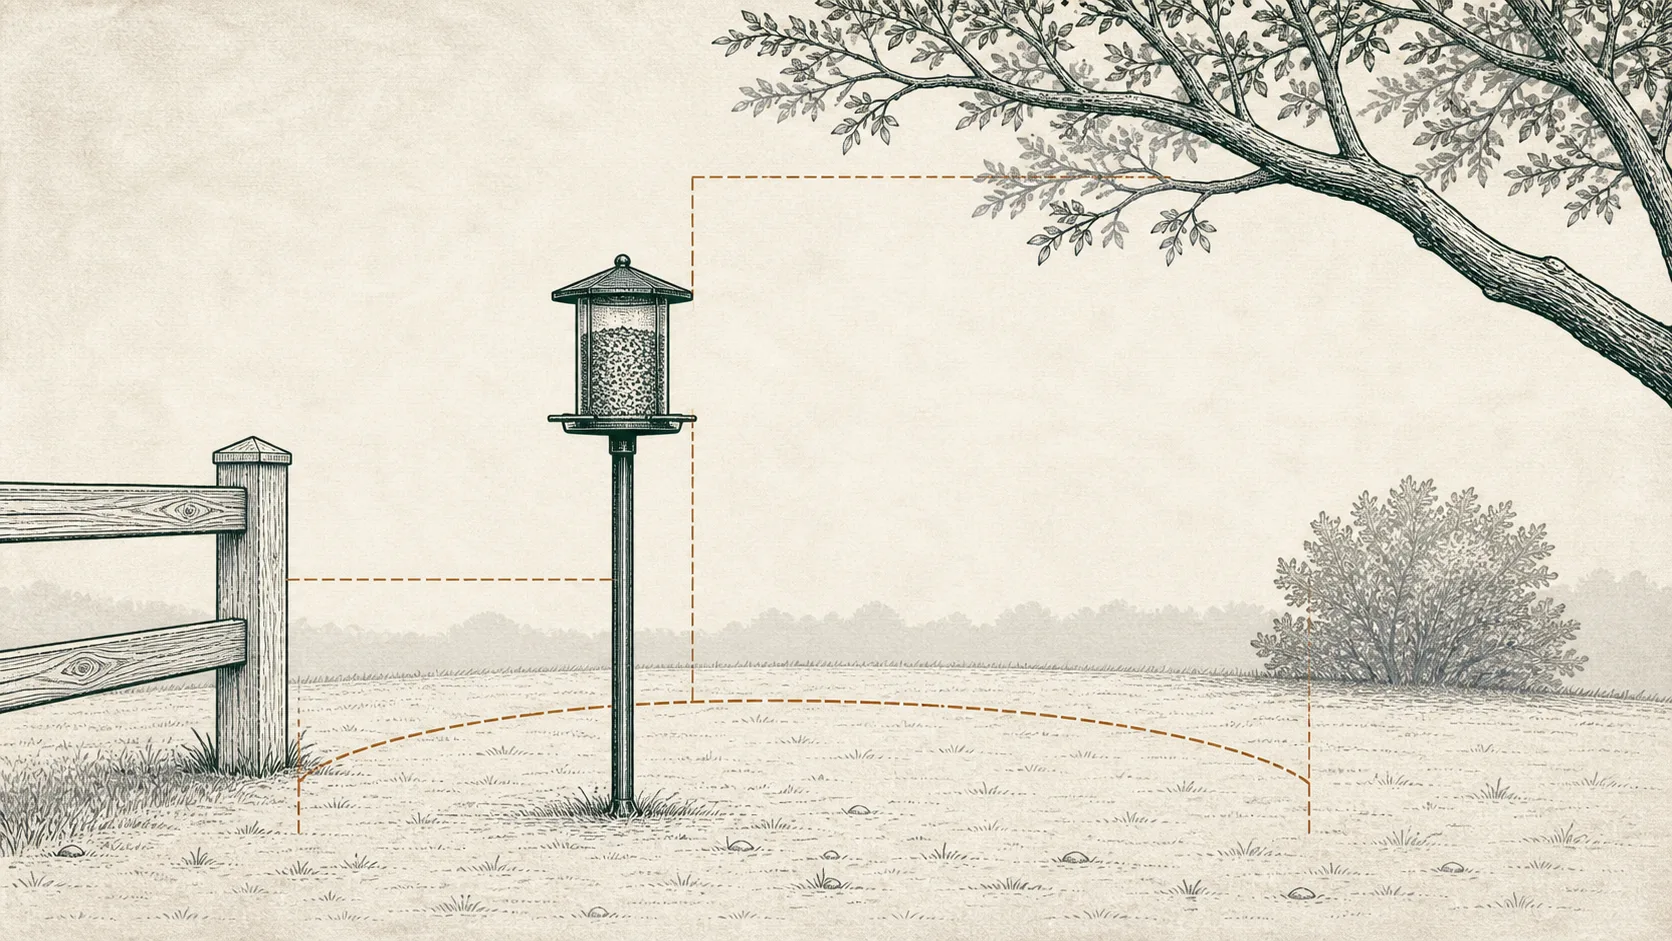
The 5-7-9 squirrel rule. The commonly cited squirrel rule is 5 ft off the ground, 7 ft sideways from a jump-off point (fence rail, low branch), and 9 ft below an overhanging branch. The intent is to put the feeder outside the easy jump-and-leap path that a squirrel takes. The number to remember is “5 high, 7 over, 9 from above” — the same numbers show up in several birding references and in the camera-feeder setup guides that cite them. Fact (checked 2026-08-23). The honest addendum: a motivated squirrel can solve any static rule, so a baffle or a pole setup is the part that actually holds the line, not the number on the ruler.
Distance from cover — about 10 ft from the nearest shrub. Cornell's All About Birds feeder-placement guidance puts a feeder roughly 10 ft from the nearest shrub or tree branch a predator could launch from. Close enough that a small bird can dart to safety; far enough that a cat cannot stage an ambush from the branches. Fact (checked 2026-08-23). The same number comes up as the lower bound of the “window-collision safety” range, where too close to glass is the bigger risk than too close to cover.
Shepherd's hook or pole as the first install. For a first setup, the easiest mounting is a shepherd's hook in the lawn (for example, this stainless shepherd’s hook on Amazon, checked 2026-08-23), or a metal pole with a shepherd's hook on top. The pole-and-hook combination is what most of the camera-feeder roundups picture in their setup photos, and the reason is practical: no drilling, no tree damage, easy to move when the first spot turns out to be wrong. Most cameras ship with a 1/4"-20 mount on the bottom, and a small adapter lets the camera sit on a standard hook bracket or on a pole-top platform.
One note on the numbers above: they are the research-based starting point, not a guarantee. The Cornell guidance and the squirrel rule are the consensus across the birding references; what each individual yard needs depends on tree cover, predators, and which side of the house the afternoon sun hits. The getting-birds page picks the same distance-from-cover number up from the birding side; here it is the feeder-photography side, and the two pages agree because Cornell and the roundup consensus agree.
4. Camera angle: eye level, slight downward tilt, away from bright sky
Mounting is the easy half. The camera angle is the half that decides whether the photo of a perched bird is a recognizable bird or a silhouette with a wing in it. Three rules, all research-based and dated 2026-08-23:
- Eye level. Put the camera at roughly the height of the bird you want to photograph, not above it. A feeder mounted so the camera looks down on the perch will photograph the top of the bird's head and the ground. A feeder at eye level will photograph the bird. The “eye level and angled” rule is repeated in the 2026 roundup consensus and in the manuals of the brands that take the photo quality seriously.
- Slight downward tilt. Five to ten degrees of downward tilt is the right amount for a feeder at the height of a perched songbird. More than that and the feeder is the subject; less and the sky is.
- Away from the brightest sky. Point the camera away from the brightest part of the visible sky. The reason: when the camera exposes for the bird, a bright sky in the frame turns the bird into a silhouette. The photo will technically be in focus; the bird will technically be there. Neither will be useful.
After the app loads, try moving the feeder and re-checking the view. A small change in angle can improve what the camera sees. Hypothesis (checked 2026-08-23): setup threads often describe adjusting the position after the first app check.
5. What to check before drilling anything
Drilling is the only mounting decision you really cannot undo cheaply. Tree bolts leave a hole, brick anchors leave a hole, and a bracket in the wrong place is a Saturday of spackle. The short checklist before any drilling happens:
- Wi-Fi passes the phone test. If the phone shows one bar or “connected, no internet” at the spot, do not drill there. Move the spot, add a mesh node, or reconsider the whole plan. The 2.4 GHz-only rule is the part that does not bend.
- The mount spot has been up for at least one full day. Watch the sun path. A spot that looks great at 10 a.m. can be in deep shade at 3 p.m., and a solar-assisted feeder under heavy shade is a different story than a solar-assisted feeder in afternoon sun. The power reality page covers the solar side in more detail.
- The camera angle is right with the app open. Walk away from the feeder by 15–20 ft and look at the app view the way a bird will see the feeder. Eye level, slight downward tilt, sky out of the frame.
- Distance from cover is roughly 10 ft. Far enough that a cat cannot stage an ambush; close enough that a small bird can dart to safety.
- You can refill without a ladder. A feeder that is hard to refill is a feeder that goes empty for two weeks while you put off the chore.
If the checklist passes, the spot is ready for a shepherd's hook or a pole mount, both of which leave no permanent mark. Drilling comes after the first refill cycle, not before. The honest move is to mount, use the feeder for a week, watch where the birds actually land and where the camera actually frames them, and only then commit to a permanent spot.
6. Limits + what happens next
The limits on this page belong on the page, not in a footnote:
- Research-based, not hands-on. I have not yet mounted a feeder in my own yard. The numbers above are the consensus across the 2026 roundup guides and the Cornell-style birding references, all dated 2026-08-23. The field notes from my own first installation will go on a separate page when they exist, and this page will be refreshed against them.
- 2.4 GHz only is the rule, not a workaround. If a brand page says it supports 5 GHz, the page may be wrong; the 2026 roundup consensus is that 2.4 GHz is the universal hardware constraint. Verify on the brand's own current spec sheet on the day you buy.
- Mounting numbers are starting points. 5–6 ft, 7 ft, 9 ft, and 10 ft are the consensus. A motivated squirrel can solve any static rule; a pole setup with a baffle is the part that actually holds the line.
- The “hypothesis” labels are honest. The one-bar Wi-Fi rule and the “first mount is almost never the right one” line are community-wisdom claims, not measurements. They are useful starting points; they are not lab results.
What happens next, with the rest of the site: the power reality page covers the solar and battery numbers that decide whether a feeder that does pass the Wi-Fi test still dies in three days. The getting-birds page picks up the same distance-from-cover number from the birds' point of view and adds the seed and the patience timeline. Both pages share the 2026-08-23 evidence base, so the numbers agree across the site.