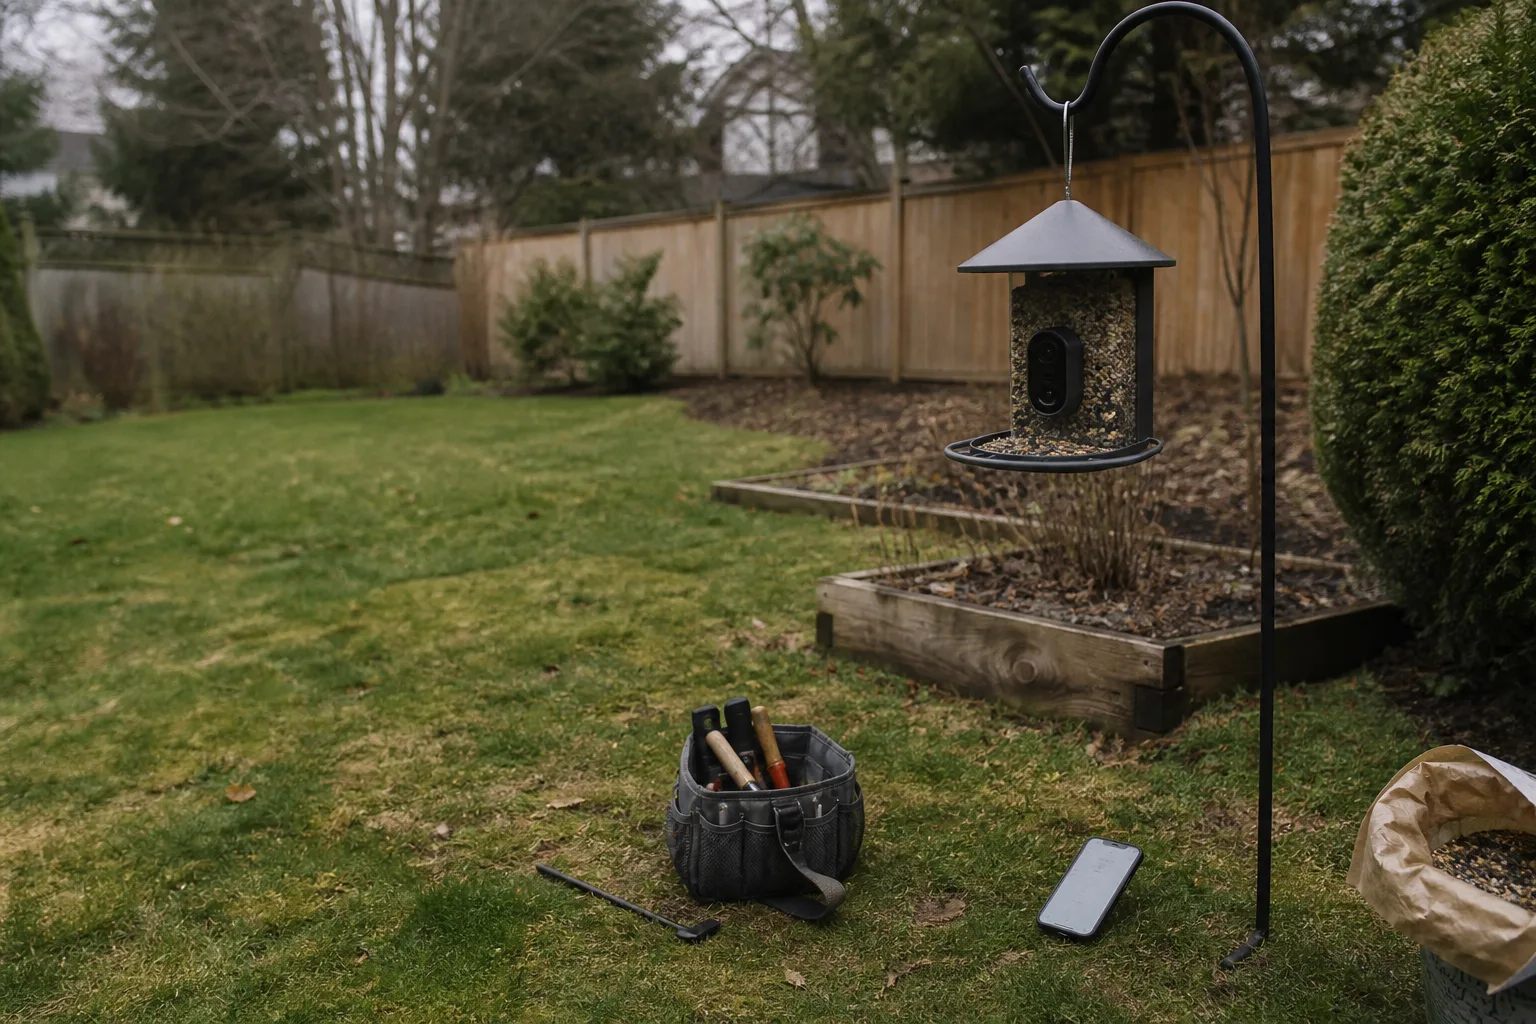
1. Why this page exists (and what it is not)
If you just ordered (or just unboxed) a camera bird feeder, you have probably read five different roundups and still don’t know whether your Wi-Fi will reach the mounting spot, whether the “AI bird ID” works, or how much the subscription really costs after the first year. This page is a research-first setup guide. It is not a hands-on test, it is not a year-long durability review, and it is not a deal post. Every claim carries a date and a source, and the limits are on the page itself — not in a footnote you have to hunt for.
I am documenting my own first smart-feeder installation step by step. This article is the long-form version of what I have learned so far, paired with the 2026 roundup consensus from independent reviewers, dated. If a claim is hands-on, the page says so. If it is research-based, the page says that too. Sources: cross-checked 2026-08-23.
2. What you’re actually setting up
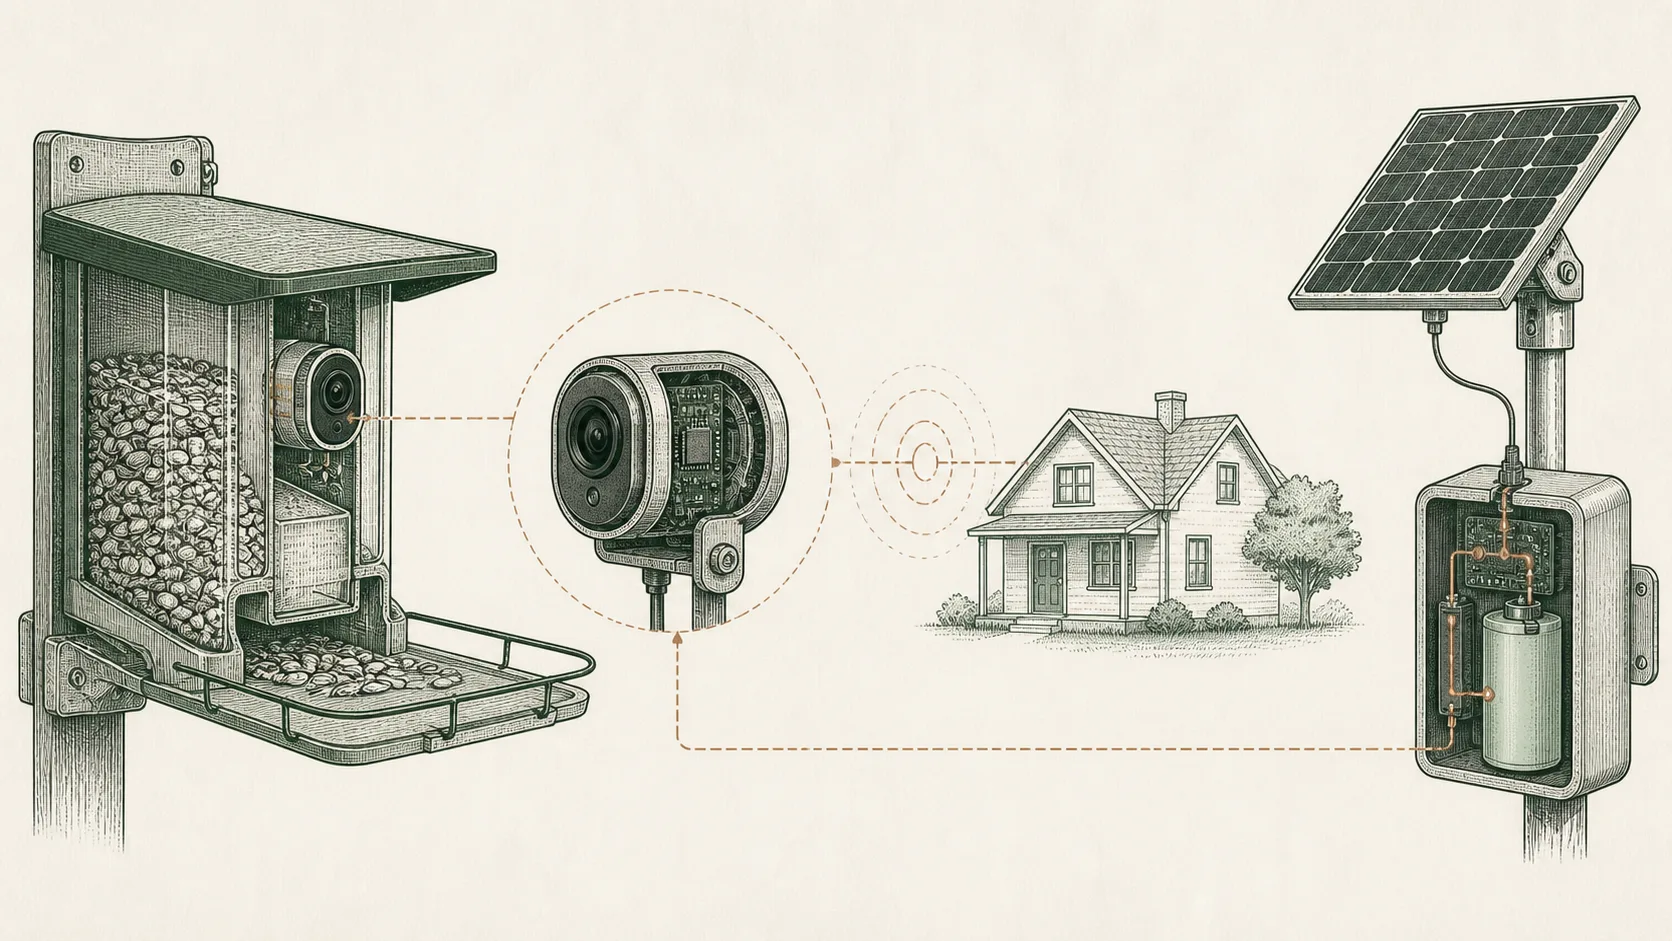
A camera bird feeder is a small system, not a single device. Before you plug anything in, it helps to name the four parts plainly — because most of the “feeder doesn’t work” problems are really “one of these four parts wasn’t ready” problems.
- The feeder itself. Seed capacity, squirrel resistance, weather rating. This is the part the roundups compare most, and the part that varies least in practice for a beginner backyard.
- The camera module. Resolution (most current models are 2K; Bird Buddy Pro is 5MP stills + 2K video), field of view, night mode, and whether it stores locally or pushes everything to the cloud.
- The app and AI service. Species ID, individual-bird ID, notifications. Almost every brand uses a subscription for the AI features after a free trial; the price and the free-trial length are the part to verify before you buy, not after.
- Power and network. Solar panel + battery (most current models), Wi-Fi reach from the spot you want to mount it, and a place to mount it that actually gets sun and is close enough to the router for a stable 2.4 GHz connection.
When a feeder “doesn’t work,” it is usually one of the last two on this list (hypothesis — the pattern repeats across setup guides and forum threads; it is not a measured rate). The first two are mostly decided by the box; the last two are decided by your yard.
3. The three things that go wrong first
These are the failure modes that show up in buyer reviews (research, not hands-on), the manual fine print, and the 2026 roundup consensus. If you can clear these three on day one, you are most of the way to a working setup.
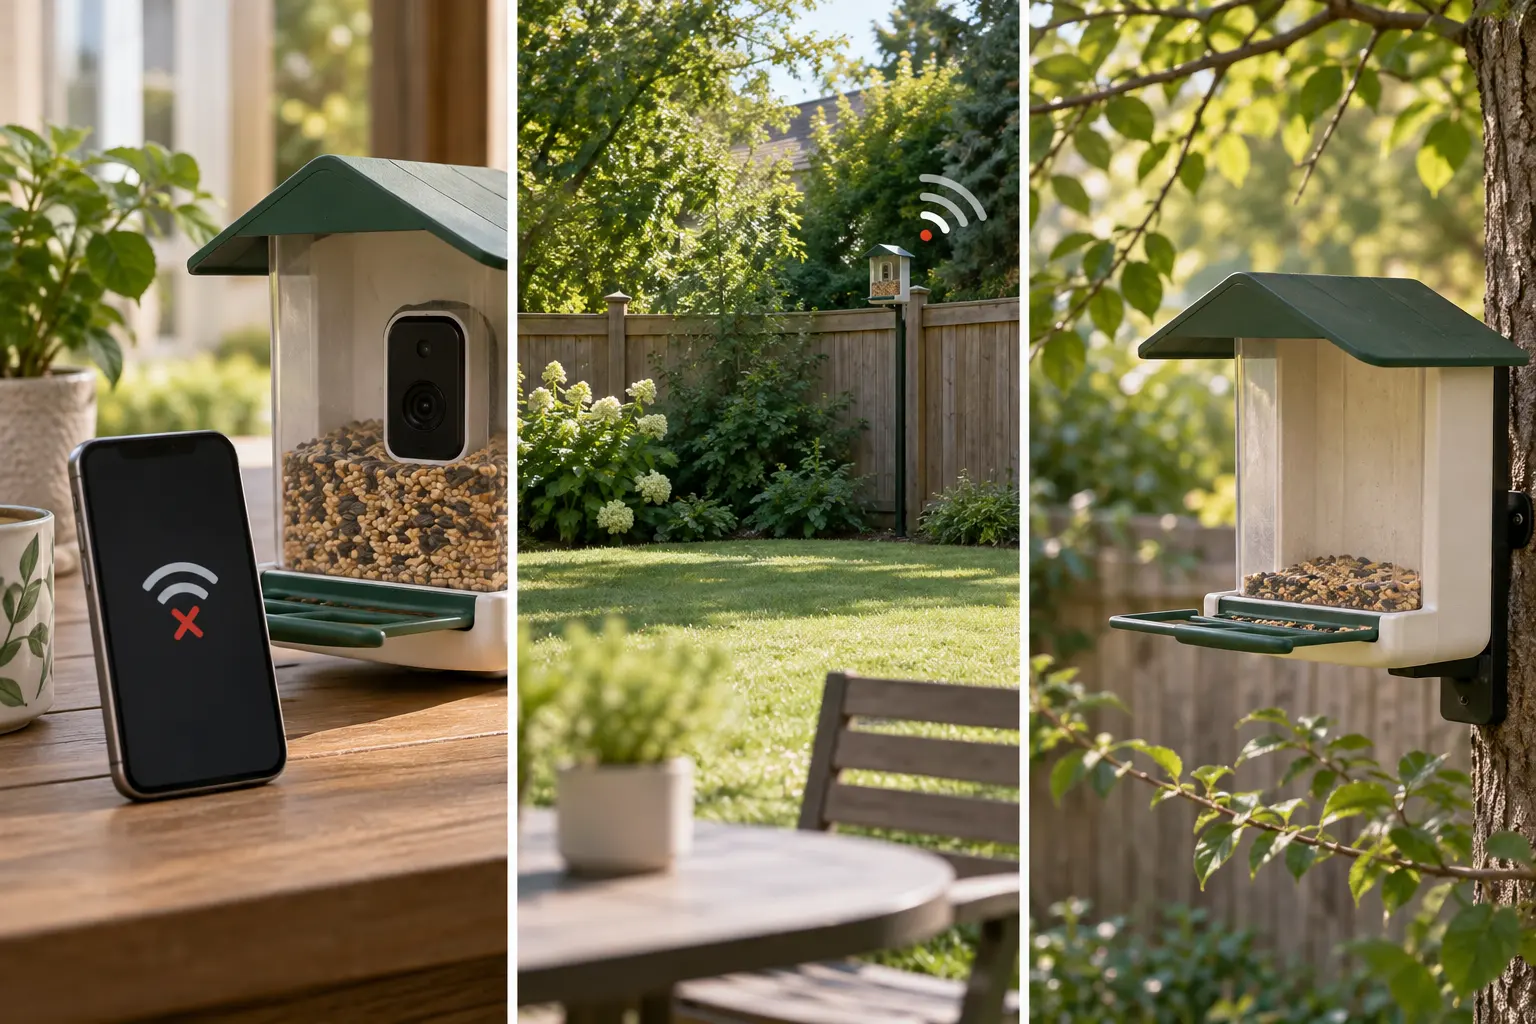
Wi-Fi and app pairing. Almost every current camera feeder uses 2.4 GHz Wi-Fi only; a few advertise dual-band. The pairing step usually requires you to stand within a few feet of the router, then move the unit to its mounting spot. If the mounting spot is at the edge of your router’s range, you will get a working app and a feed that times out, drops, or never reconnects. Hypothesis (checked 2026-08-23): most “the app is buggy” complaints are actually “the mounting spot is at the edge of the Wi-Fi range.” I am testing this on my own unit and will update this page when I have field data.
Power, battery, and the subscription reality. Most current models are solar-assisted, but the solar panel keeps a battery topped up — it does not run the unit from zero sun. In heavy shade or in winter, you will charge the unit by hand sometimes. The second part of this reality is the subscription: AI species ID, individual-bird ID, and cloud clip storage can sit behind an optional plan. Check what is included, what is optional, and the current terms before you buy.
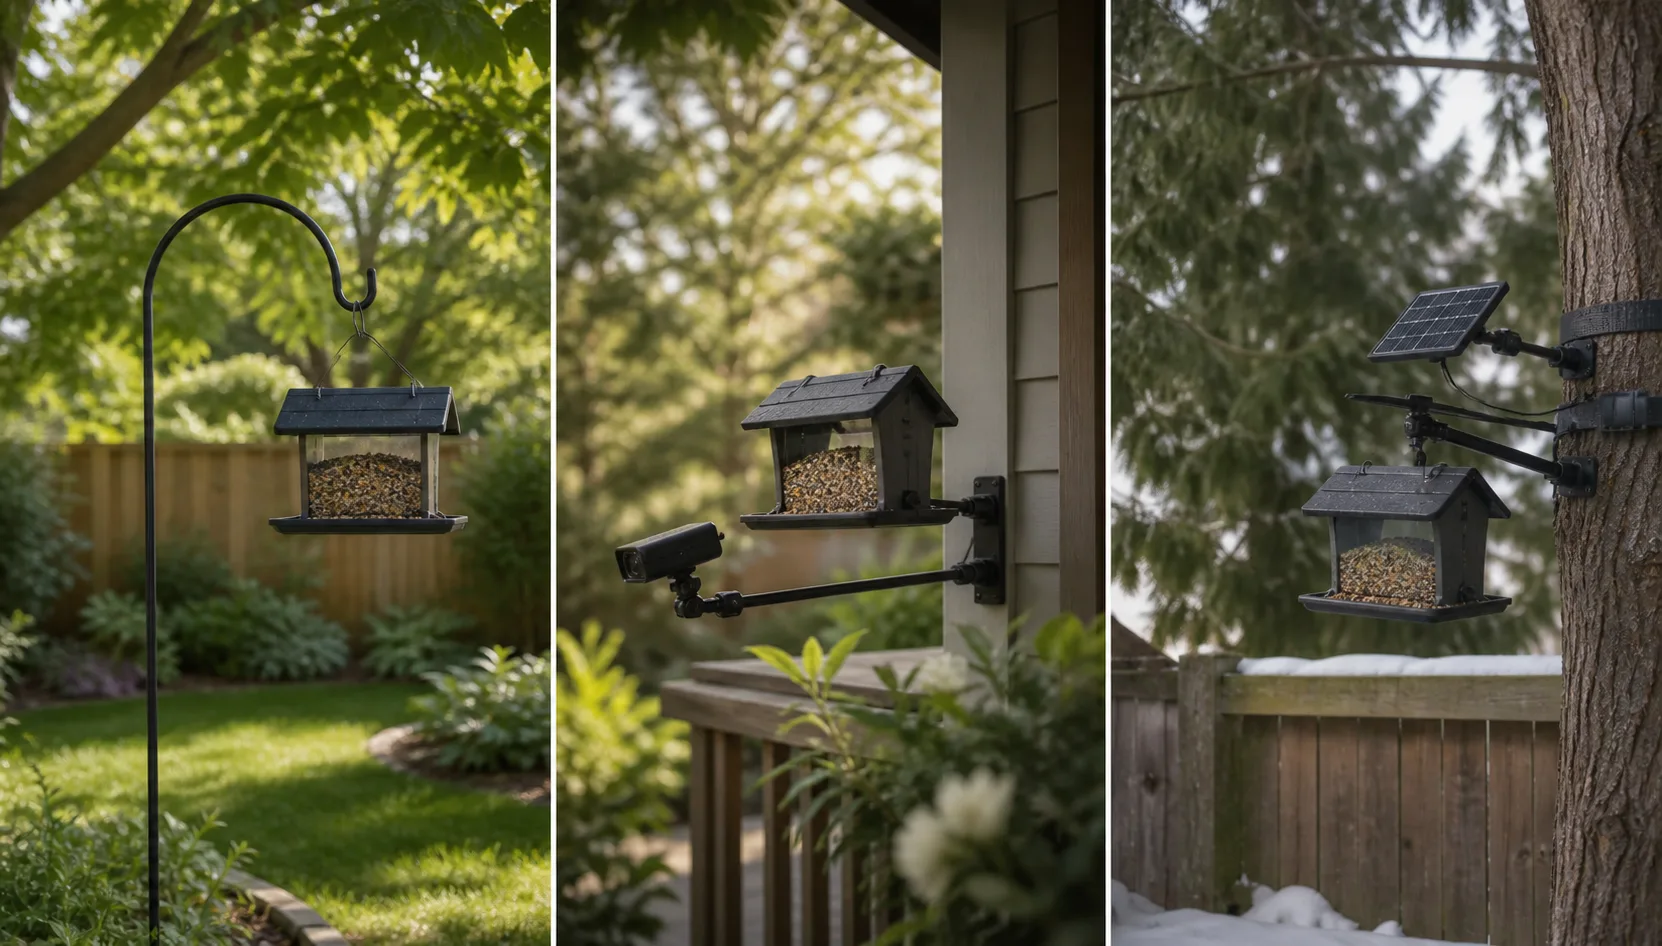
Mounting angle and what the camera actually sees. Start with the feeder roughly at eye level, angled slightly downward, with the camera pointed away from the brightest part of the sky. AI identification and photo quality can degrade when a bird is silhouetted against bright clouds. After the app view loads, move the feeder if needed and check the frame again.
4. Recommendation: the budget-start option
If you want to test whether a camera feeder suits your yard before moving to a higher-spec setup, start with the budget tier. The trade-off is straightforward: check the current product details and optional-plan terms before you decide.
Harymor Smart Bird Feeder with Camera
Why this one: a lower-commitment path into camera feeders, with solar-assisted power, AI species ID, 2K live stream, and a 2L seed capacity. It is a sensible fit for a first backyard if the product page’s current feature set matches what you want to try.
2K live stream, solar panel, AI species ID, 2L seed capacity. Check the current listing for included features, optional plans, and compatibility.
See today's Harymor listing on Amazon
5. Before you buy: the 60-second honest checklist
Run this list before you click buy. It is the difference between a feeder that works on night one and a feeder that goes back in the box.
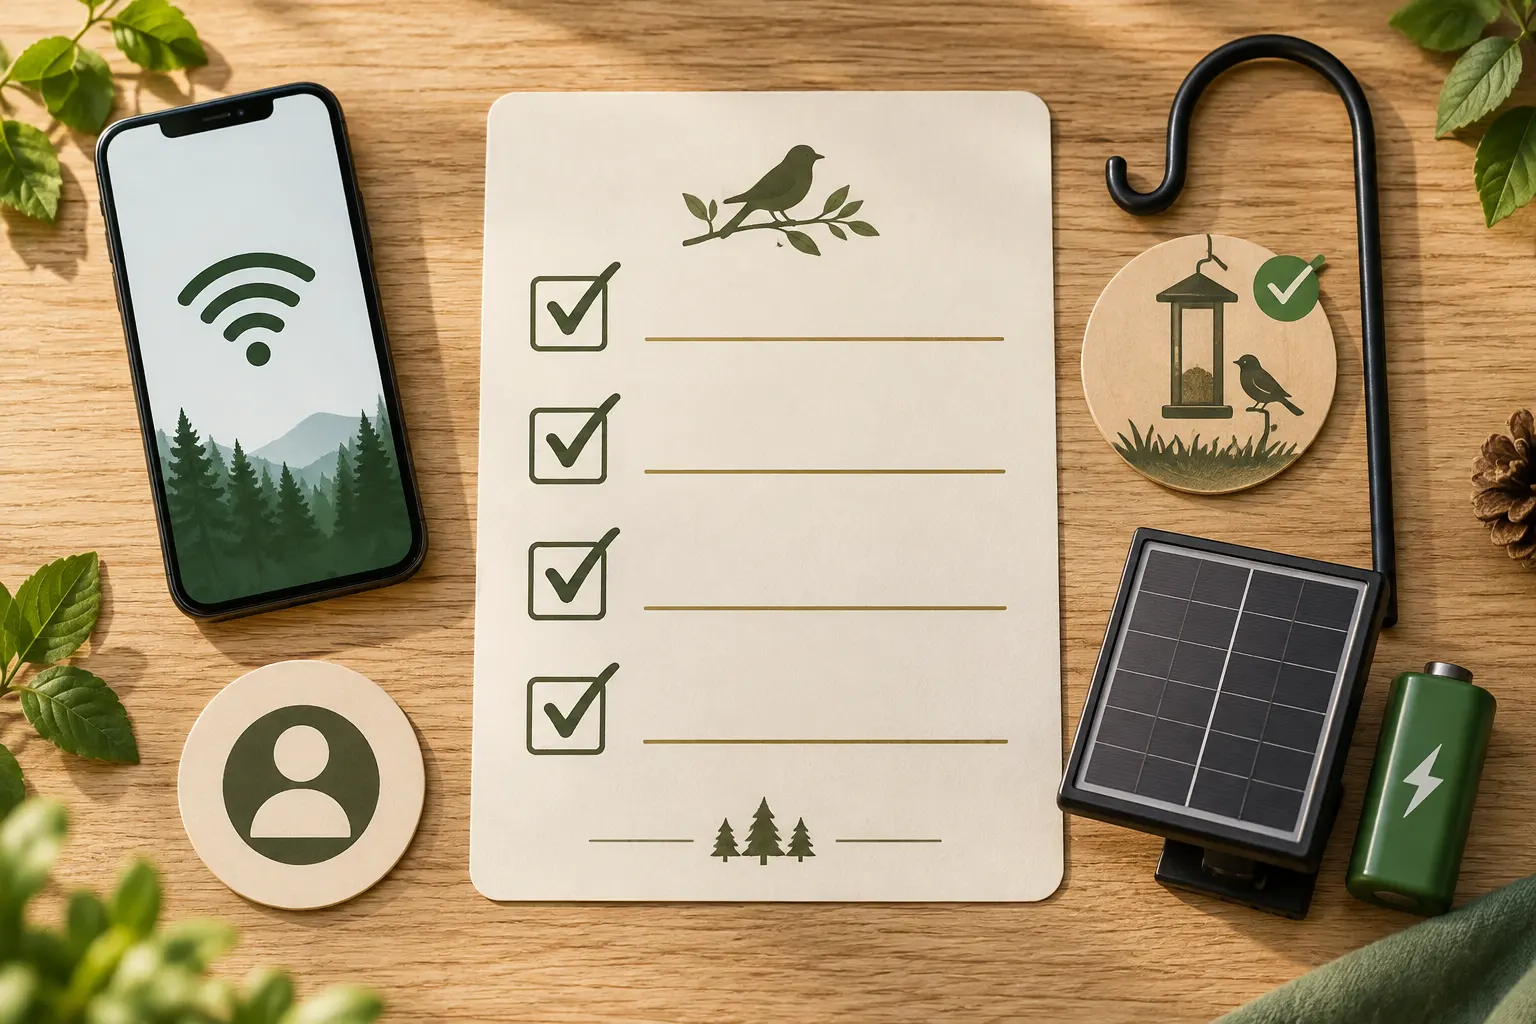
- Wi-Fi reach. Stand at the mounting spot with your phone. If the Wi-Fi is one bar or “connected, no internet,” a camera feeder will not work there. Move the spot, add a mesh node, or pick a different model.
- Mounting spot. Eye level, angled slightly downward, with the camera pointed away from the brightest sky. Trees and poles are both fine; a shepherd’s hook is the easiest first install.
- Seed. Start with a plain black-oil sunflower mix. It is a common first-feeder recommendation across birding references. Suet and nyjer are research-stage additions, not day-one choices.
- Optional-plan terms. Open the current product and brand pages before you buy. Confirm which app features, cloud history, and AI tools are included and which are optional.
- Product details. Open the current listing before checkout to confirm the exact model, included accessories, compatibility, and current terms.
6. Recommendation: the photo-first pick
If your priority is photo quality and app experience, this photo-first tier gives you a more focused place to evaluate those features. Check the current listing before you decide.
Bird Buddy Pro Solar
Why this one: a photo-first option with 5MP stills, 2K video, solar-assisted power, AI species ID, individual-bird ID, and an illness-detection app feature. Choose it when those photo-and-app features are more important to you than a basic starting setup.
5MP photos, 2K video, solar, AI species + individual bird ID, illness detection. Confirm current plan details and compatibility on the listing.
7. Where I’m starting, and what happens next
I am a total beginner. I am not three feeders deep and I do not have a wall of bird photos. I am at day zero of a first smart-feeder installation in a small US backyard, and the rest of this site documents that setup step by step.
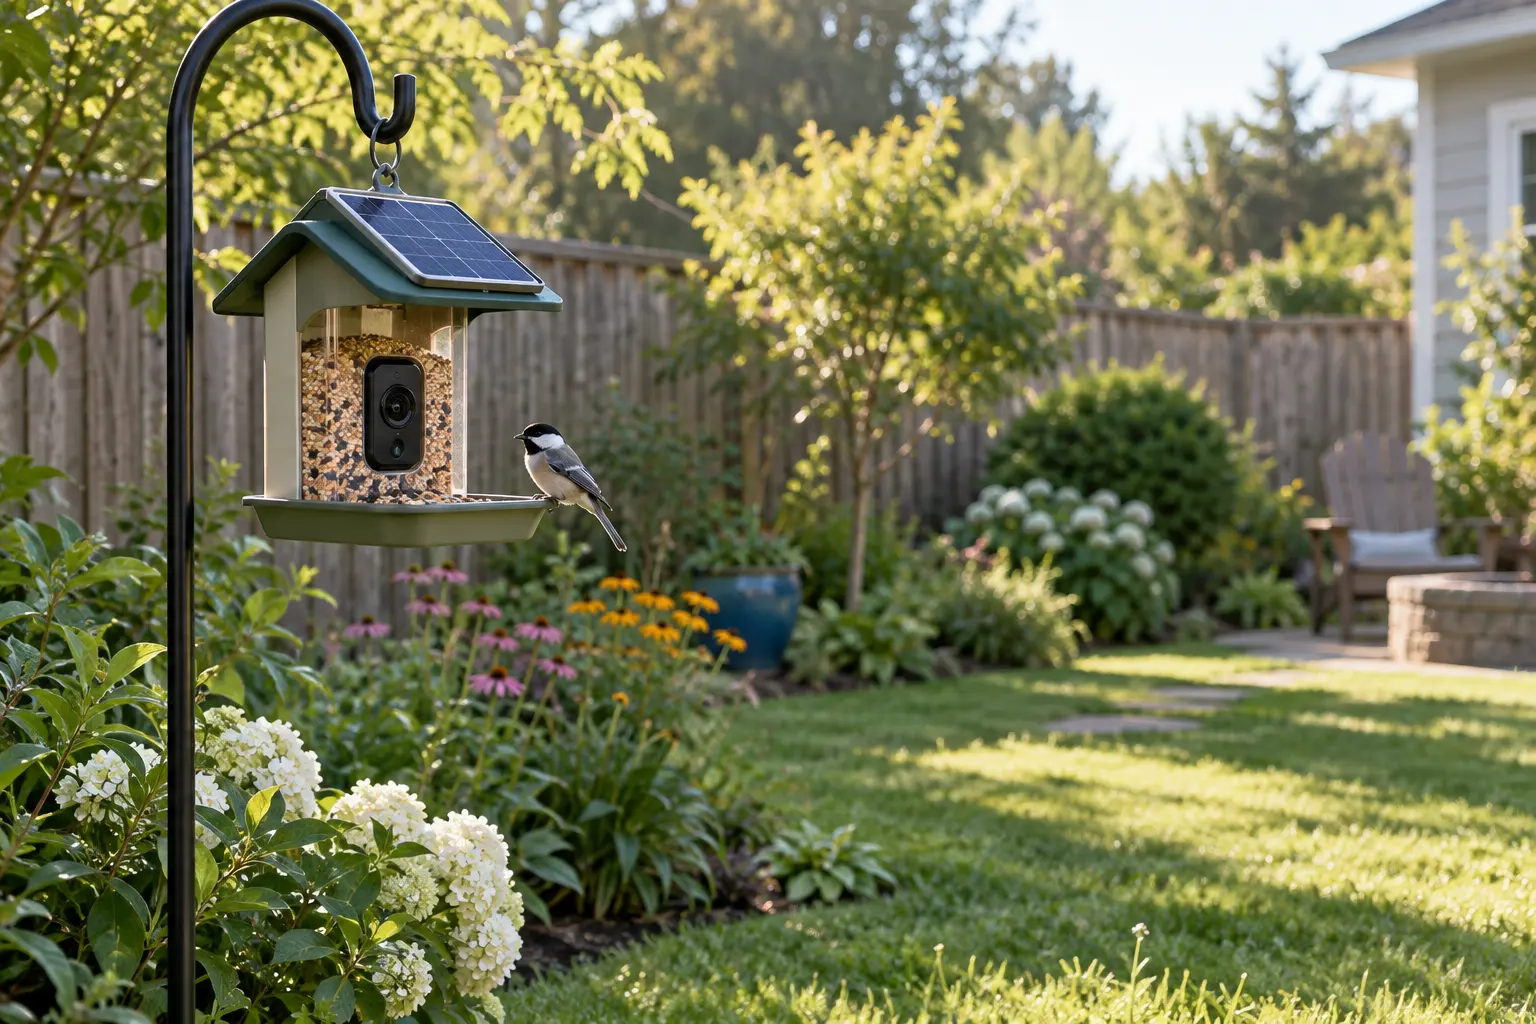
What I will do next, with dates attached: mount the feeder in the chosen spot, run the Wi-Fi reach test from the exact mount, time how long the app pairing actually takes, and report what the first week of photos looks like — including the empty branches, the squirrels, and the moments the app says “cardinal” when it is clearly a starling. None of that is in this article because it has not happened yet. The next article on the site will be the day-seven field notes, dated, with what worked and what did not.
If you are also at day zero, start with the checklist in section 5 before you buy.
8. Recommendation: the versatility pick
The third tier is for the reader who cares most about camera view, battery capacity, and continuous video rather than still photos and clips. This recommendation is research-based, not a hands-on review.
Birdfy 2 Pro Solar (Netvue)
Why this one: a versatility-focused option with a dual-lens setup, a 9,000 mAh battery with solar top-up, and continuous-video capability. It is worth considering if a broader view and recorded video matter more to you than photo-first features.
Dual-lens, 9,000 mAh battery, solar top-up, continuous video. Check the listing for the current configuration and included features.
9. After you mount it: the patience part
The product page suggests you will have birds in your inbox by sundown. The honest answer is that the feeder will sit empty for a few days, then a few brave birds will find it, then a few more, then it will become a regular stop. This is normal and it is not a feeder problem. Research-based: 2026 roundup consensus and the manual sections on “acclimation” agree on the days-to-weeks window, not the hours window.
On seed: a plain black-oil sunflower mix is the right first choice for a beginner backyard. It is cheap, available everywhere, and it is what the species the 2026 roundups call “most likely first visitors” (cardinals, chickadees, titmice, house finches, goldfinches) actually eat. Suet and nyjer are research-stage additions for specific species, not day-one choices. Fact (checked 2026-08-23).
On placement: use the mounting notes in section 3. Move the feeder, check the app, and adjust if the view needs work.
10. Limits of this article
To be explicit, because the limit statement belongs on the page, not in a footnote:
- This is a research-first article. I have not personally used any of the three recommended models for an extended period. The recommendations rest on the public spec sheets and the 2026 roundup consensus, dated.
- Amazon product details, availability, and optional-plan terms change. Check the current listing and brand page before you buy.
- This site does not run a testing lab. There are no side-by-side lab results here, and there will not be until the first long-term field notes post goes up. The next article on the site will be the day-seven field notes, dated, with what worked and what did not.
- No income claims anywhere on this site. Affiliate commissions are a transparent revenue source, not a reason an article exists.
If a claim on this page is out of date or missing a limit, the fastest way to flag it is the about page contact email.